
A rubber dam is bought the way a pump is bought: the selection runs from the site to the product, never the reverse. This guide walks the decision in the order it actually happens — duty, filling medium, height, anchorage, control — and finishes with the site data that turns a catalogue page into a quotation.
Start with the job, not the catalogue
Two dams of the same height can be entirely different products once you know what they are for. A landscape pool that rises for weekends and lies flat in storms is operated constantly; an irrigation dam holds one head all season; a flood-control sill may spend most of its life deflated. The duty determines the filling medium, the control level, even the anchorage — so write the operating pattern down before opening any catalogue. The four duties we are asked about most — landscape pools, irrigation head, flood control and tidal exclusion — are described with their typical operating patterns in our rubber dam applications guide.
Choose the filling medium
Water-filled bags are the general-purpose answer: heavy, stable under overflow, and easy to top up from the river itself. Air-filled bags are lighter, faster to fill and empty, and need only a single anchor line — useful where the civil works are minimal or the medium itself is a constraint. The full trade-off — stability, control behaviour, temperature response, pump room size — is set out in our water vs air guide; the short version is that water suits long steady pools and air suits fast, frequent modulation.
Match the height class to the site
Bags come in height classes, and the class decides much of the engineering above it: the fabric build, the anchorage loads and the control behaviour all step up with height. Choose the class from the maximum working head the duty needs, not the average — a bag that spends its life near its ceiling ages faster and modulates worse. For most municipal and irrigation works a mid-class bag is the sweet spot; the top of the range is custom engineering, and it is worth bringing the supplier in while the weir is still a sketch.
Choose the anchorage
Two fixing families cover the range. Bolt-and-plate anchoring clamps the bag between steel plates on pre-tensioned bolts cast into the sill: inspectable, re-tensionable, and the default for most heights. Wedge anchoring locks the bag into a groove with concrete wedges: a clean crest line with no visible fasteners, best on new-cast sills where the groove can be formed in the pour. The choice is usually made by the sill — an existing slab pushes you toward bolting, a fresh pour leaves both open.
Decide how much automation you need
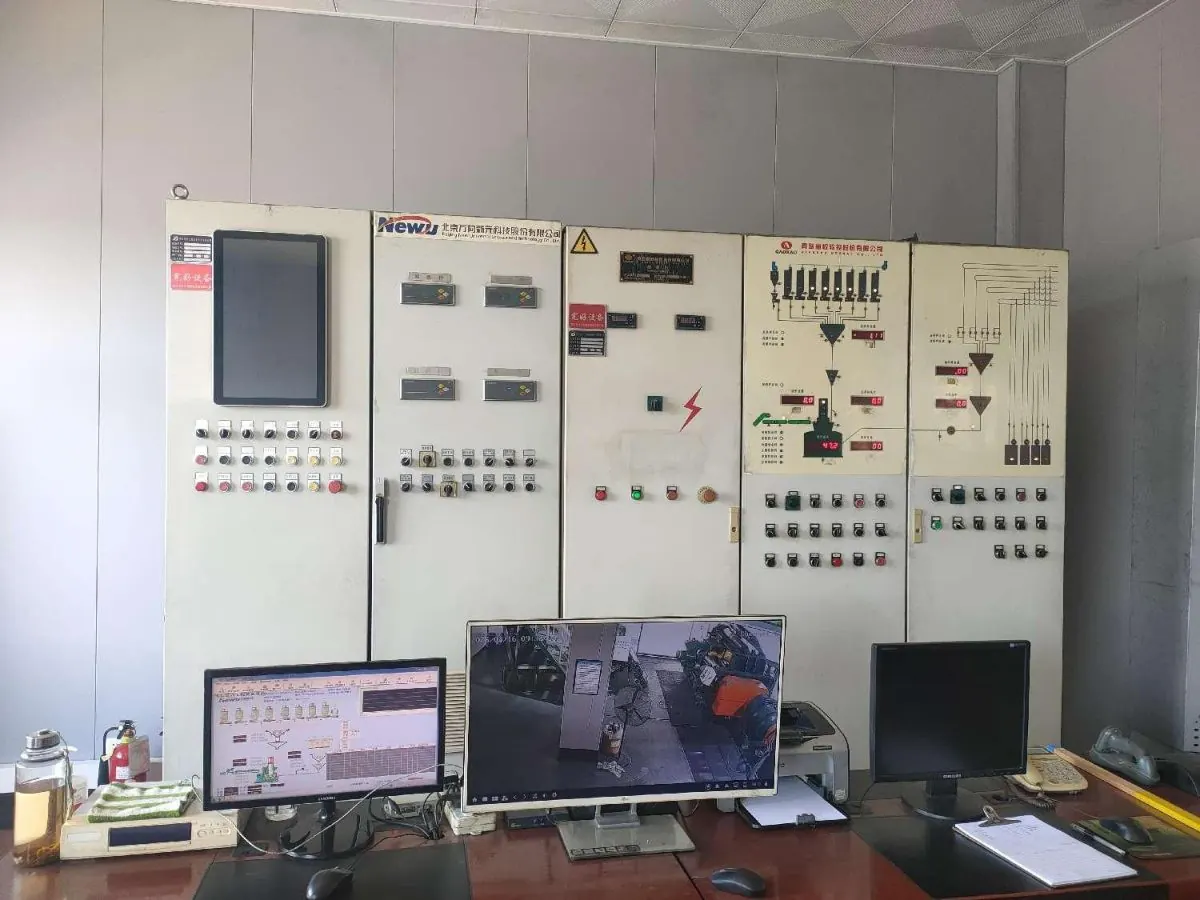
Control is a spectrum, and each step up costs equipment, not concrete. A manually operated dam needs an operator and a pressure gauge. Add pressure sensing and the inlets close themselves at the set point. Add water-level sensing and the dam reacts to the river: venting opens automatically when the level reaches the drawdown set point. Add a bag-height gauge and the control room knows the shape, not just the pressure. Most municipal dams justify the middle of that spectrum; a remote or rarely visited site should have the full automatic chain, because nobody will be there to watch the gauge. The inspection ladder that goes with each control level is set out in our rubber dam operation and maintenance guide.
The civil works around the bag
The bag is a delivered product; the sill, side walls and control room are constructed. What the bag needs from the civil design is simple to state and easy to get wrong: a slab smooth and true along the whole clamp line, side walls whose radius meets the slab at the groove level, anchor grooves or bolt pockets cast to the layout drawings, and a pump room sized for the filling medium you chose in step two. Getting these right is the difference between an installation week and an installation month — our installation teams can review the drawings before the pour, and the sequence itself is documented stage by stage in the rubber dam installation process.
The site data to bring to a quotation
- The duty, in one line: what the dam must hold, pass and protect.
- River width at the site and the available sill length.
- Target water-retaining height, and how often the level will be changed.
- Upstream and downstream design water levels, and the flood the dam must lie down for.
- Sediment load, floating debris, and whether the reach freezes in winter.
- Foundation conditions — existing slab or new works.
- Control preference: manual, semi-automatic or fully automatic.
Then let the selector do the arithmetic
Once the site data is in this shape, the remaining choices become mechanical. Our rubber dam specification selector takes height and span inputs and returns the matching bag class and preliminary configuration — useful for narrowing the option space before drawings exist. The selector is a starting point, not an answer: the configuration that comes back from engineering will adjust it, and the quotation follows the engineering rather than the other way round. If a budget has to be fixed before that, what determines the price of a rubber dam sets out the seven cost drivers in order of weight.
Get a configuration, not a catalogue
Send the site data from the checklist above and we will return a preliminary configuration: height class, anchorage type, control level and the civil interface drawings. Detailed drawings and material test reports are available on request for your design institute.